
Is there anything more disheartening than reaching for your favorite wrench or garden trowel, only to find it covered in that ugly, orange-brown stuff? You know, the kind that makes your tools feel old and neglected. It's a common problem, honestly, and it can make you wonder if your trusty helpers are beyond saving. But don't despair, because giving your tools a new lease on life is often much simpler than you might think.
When we talk about something being "clean," it typically means it's free from dirt, stains, impurities, or any sort of contamination. For tools, that means no grime, no gunk, and especially no rust. Rust, in a way, is a kind of unwanted mark, a sign of neglect that keeps your tools from working their best. Getting them back to a state of neatness, where they are free from these dirty marks, truly helps them feel ready for action again, you know?
This guide will walk you through various straightforward ways to clean rust off tools, from simple household items to more specialized products. We'll explore methods that are easy to do at home, so you can get your gear back in top shape. You'll learn how to tackle different levels of rust, protect your tools for the long haul, and basically, keep them ready for whatever project comes next. So, let's get those valuable items looking spick and span, alright?
Table of Contents
- How Rust Happens: A Quick Look
- Why Clean Tools Matter
- Getting Ready: Safety First
- Natural Rust Removal Methods
- Chemical Rust Removers: When You Need More Power
- Mechanical Rust Removal: Elbow Grease and Grit
- Cleaning After Rust Removal: The Final Polish
- Protecting Your Tools: Preventing Future Rust
- Frequently Asked Questions About Rust Removal
- Keeping Your Tools Ready
How Rust Happens: A Quick Look
Rust is, basically, iron oxide. It forms when iron or its alloys, like steel, come into contact with oxygen and moisture over time. This process is called oxidation, and it's pretty common, you know, especially if your tools are left outside or in damp places. The air itself has moisture, so even just leaving a tool out can start the process, which is why it's so important to keep things dry.
The reddish-brown flakes you see are a clear sign that the metal is degrading. It's not just an appearance issue; rust can actually weaken tools, make them stick, and even cause them to break. So, understanding how it forms helps us figure out how to stop it and how to clean rust off tools once it starts, in a way.
Why Clean Tools Matter
Having clean tools is about more than just how they look; it's about how well they work and how long they last. A tool that is free from dirt or unwanted marks, like rust, performs better, honestly. Rust can make moving parts seize up, dull sharp edges, and just generally make a tool less effective. So, if you want your screwdrivers to turn smoothly or your saws to cut cleanly, keeping them free from contamination is a big deal, you know?
Beyond performance, clean tools are safer to use. A rusty hammer might slip, or a rusty wrench could snap under pressure. Plus, taking the time to clean rust off tools really extends their useful life, saving you money in the long run. It's a bit like taking care of anything valuable; a little effort now means a lot less trouble later, which is always nice.
Getting Ready: Safety First
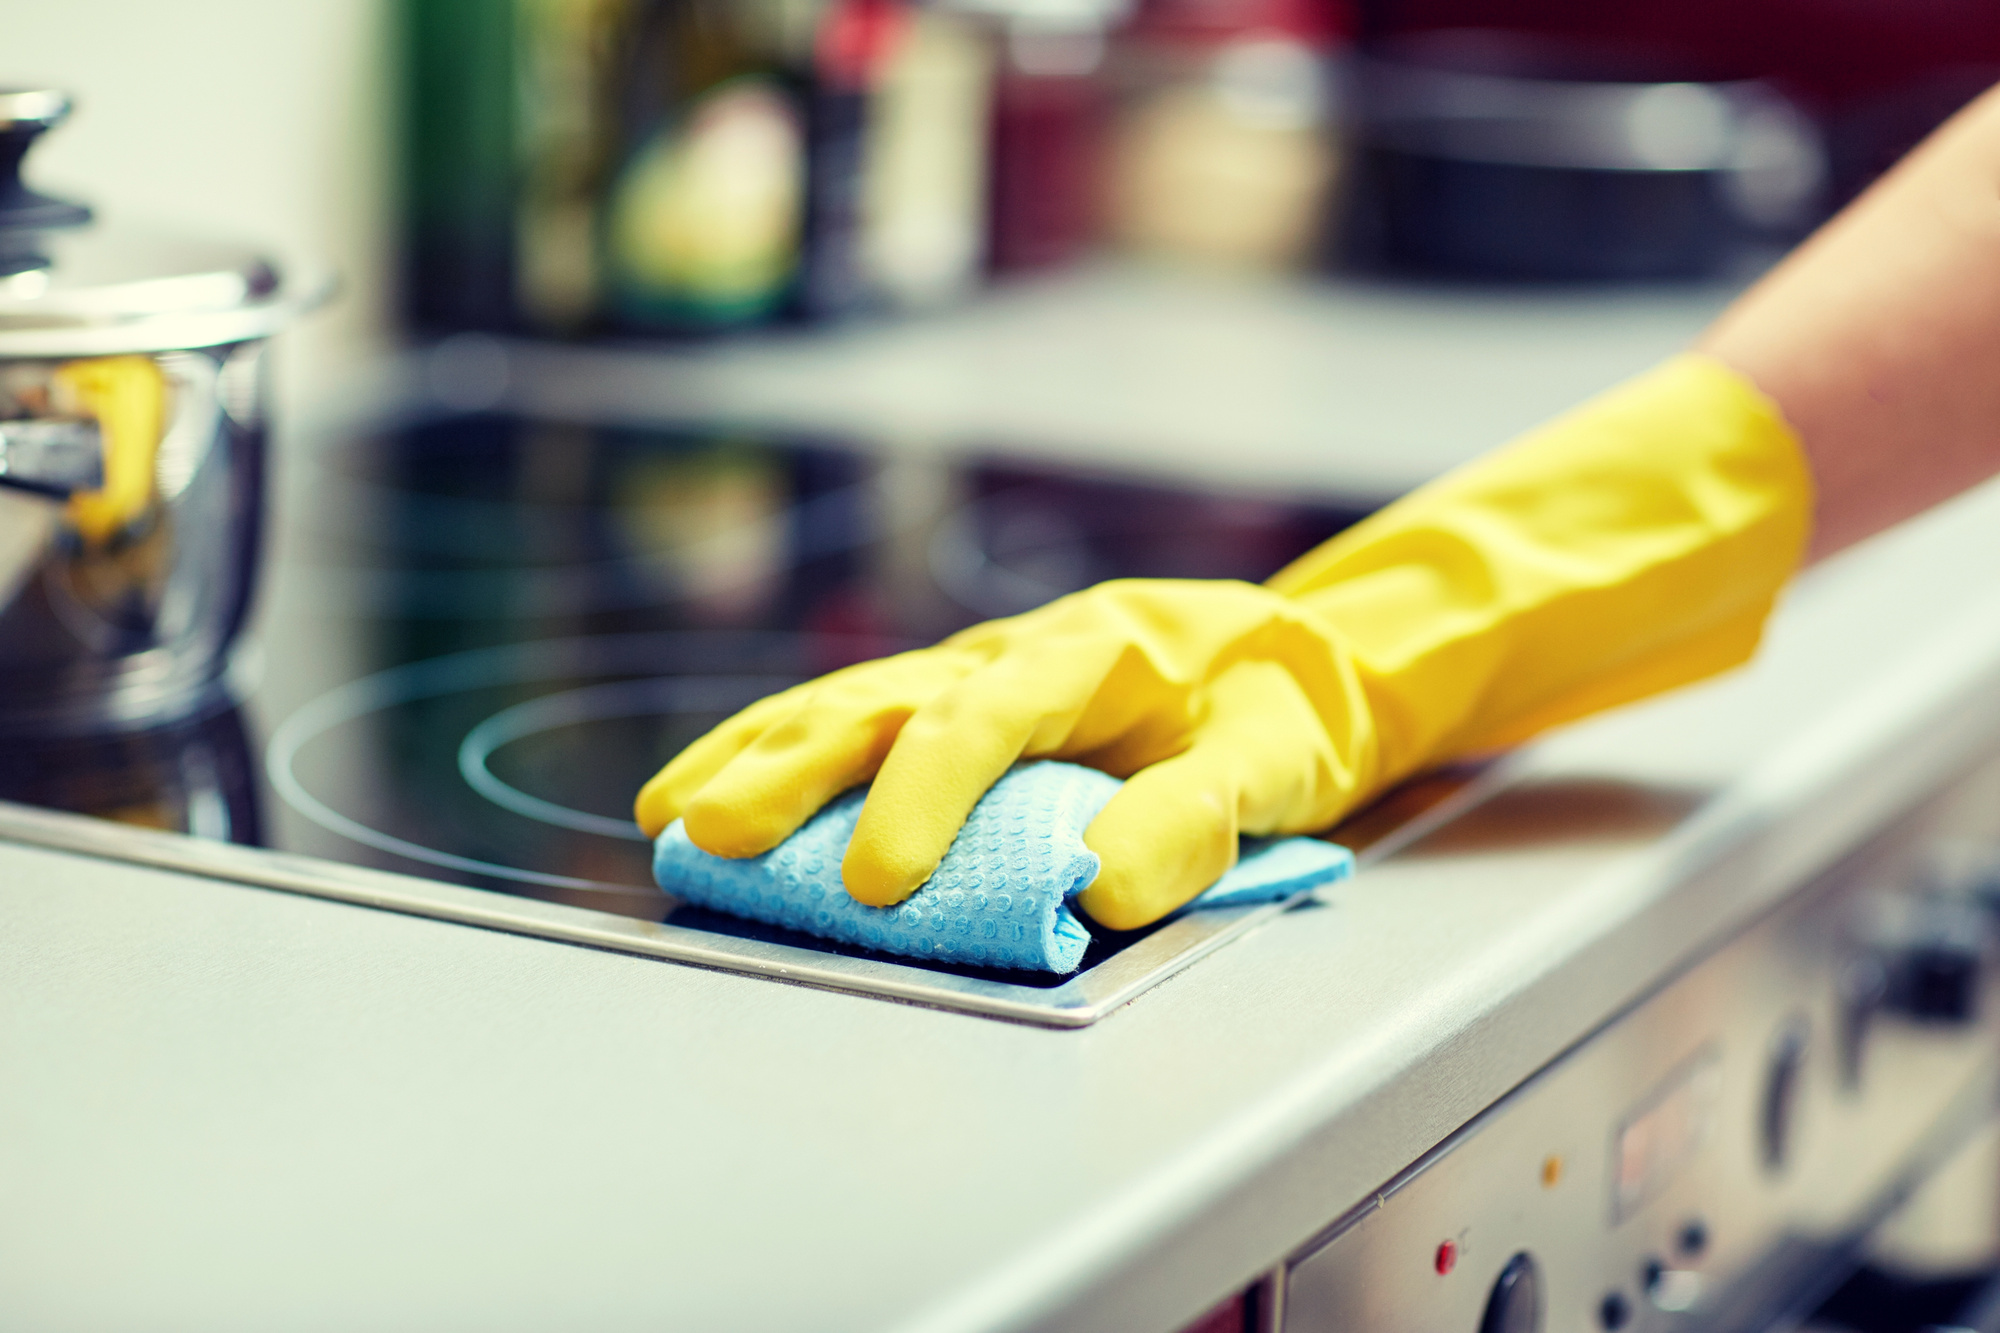
Before you even think about how to clean rust off tools, you need to think about keeping yourself safe. Rust particles can be sharp, and some cleaning agents can be harsh. So, you should always wear protective gloves, the kind that can handle chemicals if you're going that route, you know. Safety glasses are also a really good idea to protect your eyes from any flying bits of rust or splashes.
If you're using strong chemicals, make sure you're in a well-ventilated area, perhaps even outdoors. You don't want to breathe in any fumes, that's for sure. Having a clear workspace is also helpful; you don't want to trip over anything while you're focused on cleaning. So, just take a moment to set things up properly before you begin, it really makes a difference.
Natural Rust Removal Methods
For lighter rust or for those who prefer to avoid harsh chemicals, several natural methods can be surprisingly effective. These methods use common household items, which is pretty convenient, you know. They work by reacting with the rust, helping to loosen its grip on the metal. It's often a bit slower than chemical methods, but it's much gentler on the tools and the environment, which is a plus.
You might be surprised at what you already have in your pantry that can help you clean rust off tools. These natural approaches are great for smaller items or tools with only a little bit of surface rust. They tend to be quite safe to handle, which is another reason why many people start here. So, let's look at some of these simple yet powerful options.
Vinegar Soaks: A Simple Solution
White vinegar is a fantastic, readily available rust remover. Its mild acidity helps to dissolve the rust. To use it, simply submerge your rusty tools completely in a container of white vinegar. For really heavy rust, you might need to let them soak for several hours, or even overnight, depending on how bad it is, you know.
After soaking, pull the tools out and scrub the loosened rust away with a wire brush or steel wool. Sometimes, you might need to repeat the process for very stubborn spots. Once you're happy with how clean they are, rinse the tools thoroughly with water and dry them immediately to prevent new rust from forming. This step is pretty important, honestly.
Baking Soda Paste: Gentle Yet Effective
Baking soda is another common household item that can help clean rust off tools. It's a milder abrasive, so it's good for tools that aren't too heavily rusted or for those where you want to avoid scratching the surface. Just mix baking soda with a little bit of water to create a thick paste, like toothpaste consistency, you know.
Apply this paste generously to the rusty areas and let it sit for a while, perhaps an hour or two. Then, use a brush – an old toothbrush works well for small areas – to scrub the rust away. The paste helps lift the rust off the metal, and the gentle scrubbing action helps remove it. Rinse well and dry your tools right away, of course.
Lemon Juice and Salt: For Lighter Spots
For lighter patches of rust, a combination of lemon juice and salt can be quite effective. The acidity of the lemon juice works with the abrasive quality of the salt to tackle the rust. Just sprinkle a good amount of salt over the rusty area, then squeeze fresh lemon juice over the salt, covering it completely. It should form a kind of gritty solution, you know.
Let this mixture sit for a few hours, then scrub with a brush or a piece of crumpled aluminum foil. The foil acts as a gentle abrasive and helps remove the rust without damaging the tool's surface too much. Rinse thoroughly and dry immediately afterwards. This method is surprisingly effective for smaller, less severe rust spots, honestly.
Chemical Rust Removers: When You Need More Power
Sometimes, natural methods just aren't enough, especially for tools with really heavy rust. That's when chemical rust removers come into play. These products are specifically formulated to break down rust more aggressively. They can save you a lot of scrubbing, but they do require more caution, obviously. Always read the product's instructions carefully and follow all safety warnings, which is just good practice, you know.
There are different types of chemical removers, each with its own way of working. Some convert the rust into a stable compound, while others actually dissolve it. Choosing the right one depends on the tool and the extent of the rust. So, let's look at a couple of common types you might find, because they can be a real help when you need to clean rust off tools quickly.
Rust Converters: Changing the Game
Rust converters don't actually remove the rust, but they do something pretty clever: they change it. These products contain chemicals, usually phosphoric acid or tannic acid, that react with the iron oxide and turn it into a stable, black, paintable surface. This new surface then prevents further rusting, which is pretty neat, you know. It's often used when you can't completely remove all the rust, like on larger items or surfaces.
You simply apply the converter directly to the rusty area. Once it dries, the rust is neutralized and ready for priming and painting, if you want to protect it further. This is a good option if you plan to paint the tool or if the rust is deeply pitted and impossible to scrub away completely. It essentially makes the rust harmless, in a way.
Rust Dissolvers: Melting Away Metal Woes
Rust dissolvers, on the other hand, truly aim to clean rust off tools by dissolving it completely. Many of these products use chelating agents that bond with the iron particles, pulling them away from the tool's surface. You typically soak the rusty tool in the dissolver for a period, which can range from minutes to hours, depending on the product and the rust's severity, you know.
After soaking, the rust often just wipes or rinses away, leaving behind clean metal. These can be very effective for heavily rusted items and are often non-acidic, making them safer for the base metal than some acid-based solutions. Always follow the manufacturer's directions for disposal, as these chemicals need to be handled responsibly. They can be a serious time-saver, honestly.
Mechanical Rust Removal: Elbow Grease and Grit
Sometimes, the most straightforward way to clean rust off tools is to just physically remove it. This involves using abrasive materials to scrub, scrape, or grind the rust away. This method often works best for surface rust or for tools that are sturdy enough to handle some abrasion. It definitely requires a bit of effort, or "elbow grease," as they say, you know.
Mechanical methods can be quite satisfying because you see the rust disappearing right before your eyes. However, you need to be careful not to remove too much of the base metal or to scratch the tool unnecessarily. Choosing the right abrasive for the job is pretty important to get good results without damaging your valuable items. So, let's explore some common mechanical approaches.
Wire Brushes and Steel Wool: Getting Physical
For tools with moderate rust, a wire brush or steel wool can be very effective. A wire brush, especially one with brass bristles, can really get into pitted areas and scrub away loose rust. Steel wool, on the other hand, is great for polishing surfaces and removing lighter layers of rust without being overly aggressive, you know. You can use them dry or with a little bit of penetrating oil for better results.
Just rub the brush or steel wool firmly over the rusty areas, applying consistent pressure. You'll see the rust flakes coming off as you work. Remember to wear gloves and eye protection, as rust particles can fly around. This method is pretty hands-on, but it's a reliable way to clean rust off tools that aren't too delicate.
Sandpaper and Abrasive Pads: Smoothing Things Out
Sandpaper, especially finer grits, and abrasive pads are excellent for smoothing out surfaces after initial rust removal or for tackling lighter rust on their own. Start with a coarser grit if the rust is heavy, then move to finer grits to polish the metal. This helps to create a smoother surface that is less likely to rust again, which is a definite plus, you know.
For tools with flat surfaces, you can wrap sandpaper around a block for even pressure. For curved areas, you might just use your fingers to guide the paper. Abrasive pads, like Scotch-Brite pads, are also great for light scrubbing and can conform to different shapes. They are less aggressive than steel wool, so they are good for more delicate tools, honestly.
Power Tools: For the Tough Jobs
For tools that are heavily rusted or for larger items, power tools fitted with wire wheels, sanding discs, or abrasive brushes can save you a lot of time and effort. A drill with a wire brush attachment, for instance, can quickly strip away layers of rust. A bench grinder with a wire wheel is also very effective for smaller, sturdy metal parts, you know.
When using power tools, safety is even more important. Always wear heavy-duty gloves, a face shield, and eye protection. Power tools can generate a lot of heat and throw off metal fragments, so being careful is absolutely essential. While they are fast, they can also remove a lot of material quickly, so use a light touch until you get a feel for it. They are great for really stubborn rust, honestly.
Cleaning After Rust Removal: The Final Polish
Once you've managed to clean rust off tools, the job isn't quite finished. There's a really important step that often gets overlooked: the final cleaning and drying. Even if the tool looks clean, there might be residues from the rust removal process or tiny bits of rust dust left behind. These need to be removed to ensure the tool is truly clean and ready for protection, you know.
After scrubbing or soaking, rinse the tool thoroughly with clean water. Make sure all the cleaning agents, rust particles, and any other grime are completely washed away. Then, and this is crucial, dry the tool immediately and completely. Any lingering moisture will invite rust right back, which we definitely don't want after all that effort. You can use a clean cloth, compressed air, or even a hairdryer for those hard-to-reach spots. Getting it bone dry is a pretty big deal.
Protecting Your Tools: Preventing Future Rust
Cleaning rust off tools is a great start, but the real trick is keeping them from rusting again. Prevention is much easier than removal, honestly. Once your tools are clean and dry, you want to create a barrier against moisture and oxygen. This means thinking about how you store them and what kind of protective coatings you can apply, you know. A little bit of proactive care goes a very long way in preserving your investment.
It's about creating a state of hygiene and neatness that lasts. Just like you'd clean your PC of temporary files and browser junk to keep it running smoothly, you want to protect your tools from the "junk" of rust. So, let's look at some simple but effective ways to keep that orange menace from ever returning to your freshly cleaned gear. You'll be glad you did, honestly.
Proper Storage: Keep Them Dry
The single most important step in preventing rust is proper storage. Moisture is rust's best friend, so keeping your tools in a dry environment is key. Avoid storing them in damp basements, garages, or outdoor sheds where humidity can be high. A climate-controlled workshop or a dedicated tool cabinet is ideal, you know.
Consider using toolboxes or drawers that seal well to keep out moisture. If you live in a very humid area, you might even think about adding a dehumidifier to your storage space. Just keeping them off concrete floors can help too, as concrete can wick moisture. So, finding a dry spot is pretty much the first line of defense.
Oiling and Waxing: A Protective Layer
Applying a thin layer of oil or wax to your tools creates a physical barrier that keeps moisture and oxygen away from the metal. After each use, or at least periodically, wipe down your clean tools with a light machine oil, mineral oil, or even a specialized tool wax. This is especially important for tools that you don't use very often, you know.
For cutting edges, a light coat of oil helps preserve sharpness and prevents rust. Some people even use car wax for a durable, protective finish on metal surfaces. Just make sure to wipe off any excess so the tools aren't greasy to handle. This simple step can really extend the life of your tools, honestly.
Desiccants: Absorbing Moisture
Desiccants are substances that absorb moisture from the air, helping to keep your tool storage environment dry. Silica gel packets, often found in new product packaging, are a common example. You can place these packets in your toolboxes or drawers to absorb any lingering humidity, you know. They're pretty inexpensive and can be recharged by baking them in an oven, depending on the type.
Another option is to use a larger desiccant like a moisture absorber designed for closets. These are especially useful in larger tool chests or cabinets. Regularly checking and replacing or recharging your desiccants ensures they remain effective. This is a small but mighty step in your ongoing battle against rust, honestly. To learn more about keeping things safe and dry, you might check out a reputable safety guide on general workplace safety, which often touches on environmental controls.


Detail Author:
- Name : Briana Osinski
- Username : lonny.lynch
- Email : wilmer08@swaniawski.biz
- Birthdate : 1995-12-05
- Address : 177 Barton Radial Suite 519 Hobartton, PA 08192-7048
- Phone : 1-478-884-3871
- Company : Zboncak LLC
- Job : Food Service Manager
- Bio : Sapiente illo maxime et reprehenderit nostrum sed. Possimus recusandae ut autem qui dolorem. Possimus quis autem officiis voluptatem et distinctio natus.
Socials
twitter:
- url : https://twitter.com/medawalter
- username : medawalter
- bio : Non alias explicabo assumenda exercitationem velit aut. Enim aut quia qui provident enim tenetur. Reiciendis quaerat qui quia.
- followers : 691
- following : 354
instagram:
- url : https://instagram.com/walterm
- username : walterm
- bio : Sit consequatur rerum et. Nesciunt officiis quam dolorem quisquam molestiae dolor.
- followers : 4649
- following : 1409
